
Lead-Free Roof Flashing Installation: A Comprehensive Guide To Install QACO-FLEX
1 February 2023
Roof flashing is an essential component of any roofing system, designed to protect against water penetration and damage to the structure. Lead-free roof flashing installation has become increasingly important in recent years due to concerns about the environmental impact of lead and its potential health risks.
This article will provide you with a comprehensive guide to expert techniques for lead-free roof flashing installation using QACO-FLEX, a modified polyethylene compound reinforced with aluminium mesh.
What Is Lead-Free Roof Flashing?
Lead-Free Roof Flashing refers to roof flashing materials that do not contain lead. Lead was once a popular material for roof flashing due to its durability and ability to withstand harsh weather conditions. However, the environmental and health risks associated with lead have led to a shift towards lead-free alternatives like QACO-FLEX.
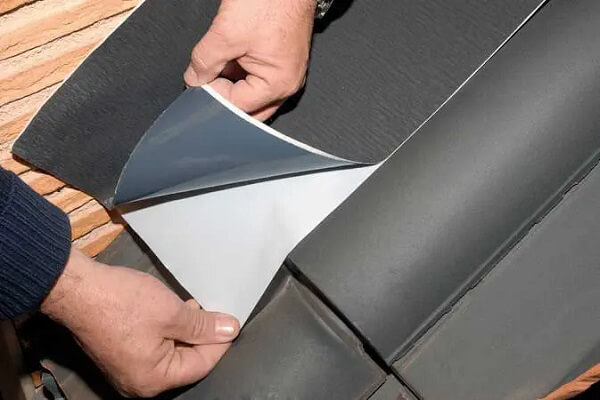
What Is QACO-FLEX, And How Does It Work?
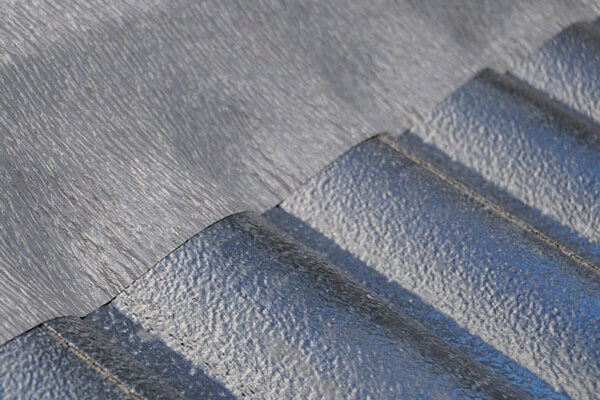
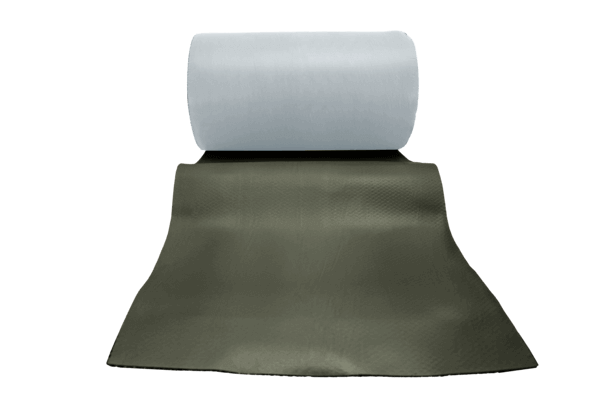
QACO-FLEX is a modified polyethylene compound reinforced with aluminium mesh. This material offers a long-lasting and durable alternative to lead-based roof flashing, providing protection against water penetration and damage to the roof structure. The aluminium mesh reinforcement provides additional strength, making it ideal for use in all weather conditions.
QACO-FLEX Lead-Free Roof Flashing Installation
The installation process for lead-free roof flashing with QACO-FLEX is relatively straightforward and can be completed by roofers with all types of experience levels. The following is a step-by-step guide to the lead-free roof flashing installation process:
Preparing the Roof Surface:
The first step in the Lead-Free Roof Flashing Installation process is to prepare the roof surface. This involves cleaning the area around the penetration, removing any old flashing or debris, and ensuring that the surface is level and free of any sharp edges.
Measuring and Cutting the QACO-FLEX to Size:
The next step is to measure and cut the QACO-FLEX to the proper size. It is important to measure accurately to ensure that the QACO-FLEX fits appropriately and provides adequate protection.
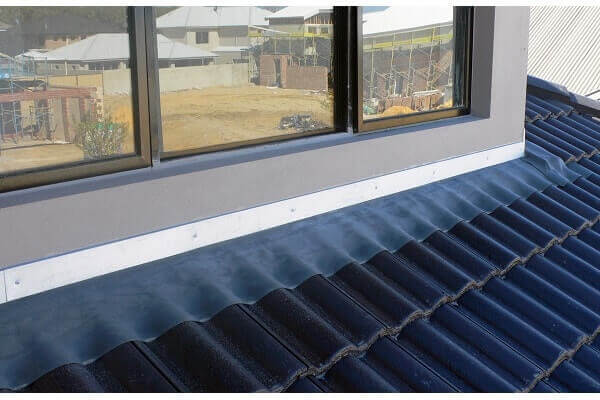
Installing the QACO-FLEX Roof Flashing:
Once the QACO-FLEX has been cut to size, it can be installed around the penetration. The flashing should be installed in such a way as to create a water-tight seal, with the edges overlapped and the seams sealed to prevent water from penetrating.
Sealing the Edges:
After installing the QACO-FLEX, the edges should be sealed to prevent water from infiltrating the roof. A suitable sealant can be used to achieve this, and it is essential to ensure that the edges are properly sealed to prevent water from seeping in.
Checking for Proper Installation:
Once the installation process is complete, it is vital to inspect the lead-free roof flashing to ensure that it has been installed correctly. Check for proper sealing and straightness of the flashing and ensure no gaps or seams may allow water to penetrate.
FAQs
Is QACO-FLEX durable?
Yes, QACO-FLEX is a durable material that provides long-lasting protection against water penetration and damage to the roof structure.
Can QACO-FLEX be used in extreme weather conditions?
Yes, QACO-FLEX is reinforced with aluminium mesh, making it ideal for use in extreme weather conditions.
Is lead-free roof flashing installation difficult?
The lead-free roof flashing installation process with QACO-FLEX is relatively straightforward and can be completed by roofers with all types of experience levels.
Can you use QACO-FLEX to fix existing faulty/leaking lead flashing?
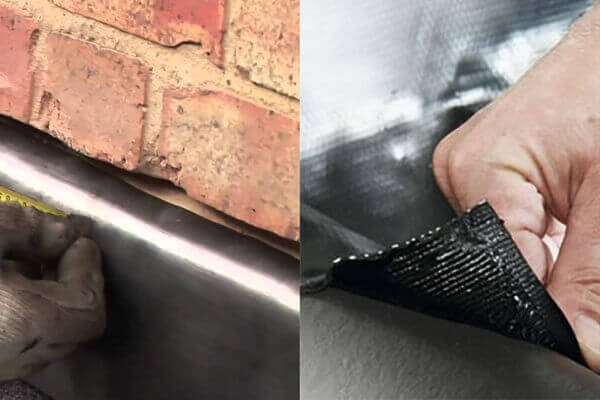
Yes, QACO-FLEX can be used to fix existing faulty/leaking lead flashing by lifting the lead and installing QACO-FLEX underneath it in full 5m lengths. The lead can then be dressed down over the QACO-FLEX as an over-flashing or trimmed back for a smaller over-flashing. If the lead is completely removed, QACO-FLEX can be chased back into the brickwork, have an over-flashing or be installed underneath the facia.
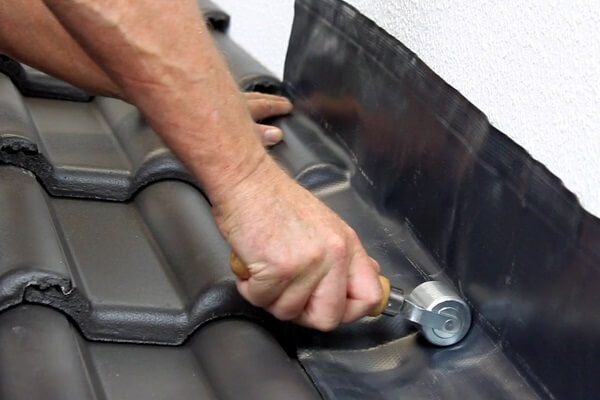
Do you need any specialist tools to install QACO-FLEX?
Installing QACO-FLEX does not require any tools and can be done by hand. The best way to dress the material is by using both thumbs. It can stretch up to 50% in length, allowing for installation around 360 degrees, but stretching is not necessary during installation.
Conclusion
This comprehensive guide to expert techniques for lead-free roof flashing installation with QACO-FLEX provides a step-by-step guide to the installation process. It highlights its many benefits over traditional lead-based roof flashing.
By correctly installing QACO-FLEX lead-free roof flashing, you can ensure that your roof is protected against water penetration and damage while also being environmentally friendly.
Recent News
-
What Is Roof Flashing?
01 Feb, 2023 -
Different Types Of Roof Flashing
01 Feb, 2023 -
Lead-Free Roof Flashing
01 Feb, 2023 -
Lead vs Lead-Free Roof Flashing
01 Feb, 2023 -
Lead-Free Roof Flashing Installation
01 Feb, 2023 -
Lead-Free Roof Flashing Cost
01 Feb, 2023


Looking For The Best Valued Lead-Free Roof Flashing?


Testimonials
What Customers Love About QACO-FLEX
“I was looking for a lead-free roof flashing and I couldn't be happier with QACO-FLEX. It's not only a great product but is the best valued lead-free roof flashing on the market!”

Chris Mathers
Roofer“QACO-FLEX arrived in a very timely manner and is exactly how I visualised it to be and is very effective at replacing the older style lead flashing.”

Mark Florimo
Builder“QACO-FLEX is very easy to cut and easy to position. It also sticks into position extremely well and looks excellent. I highly recommend the QACO-FLEX!”

Robert Giles
RooferPreloader Close